Feature Walls
Hand-finished feature walls
Mineral surfaces that turn a wall into the centrepiece of a room — depth, texture, tonal movement, and finish levels you can't get from paint or wallpaper.
Overview
A specialist surface system, applied by hand
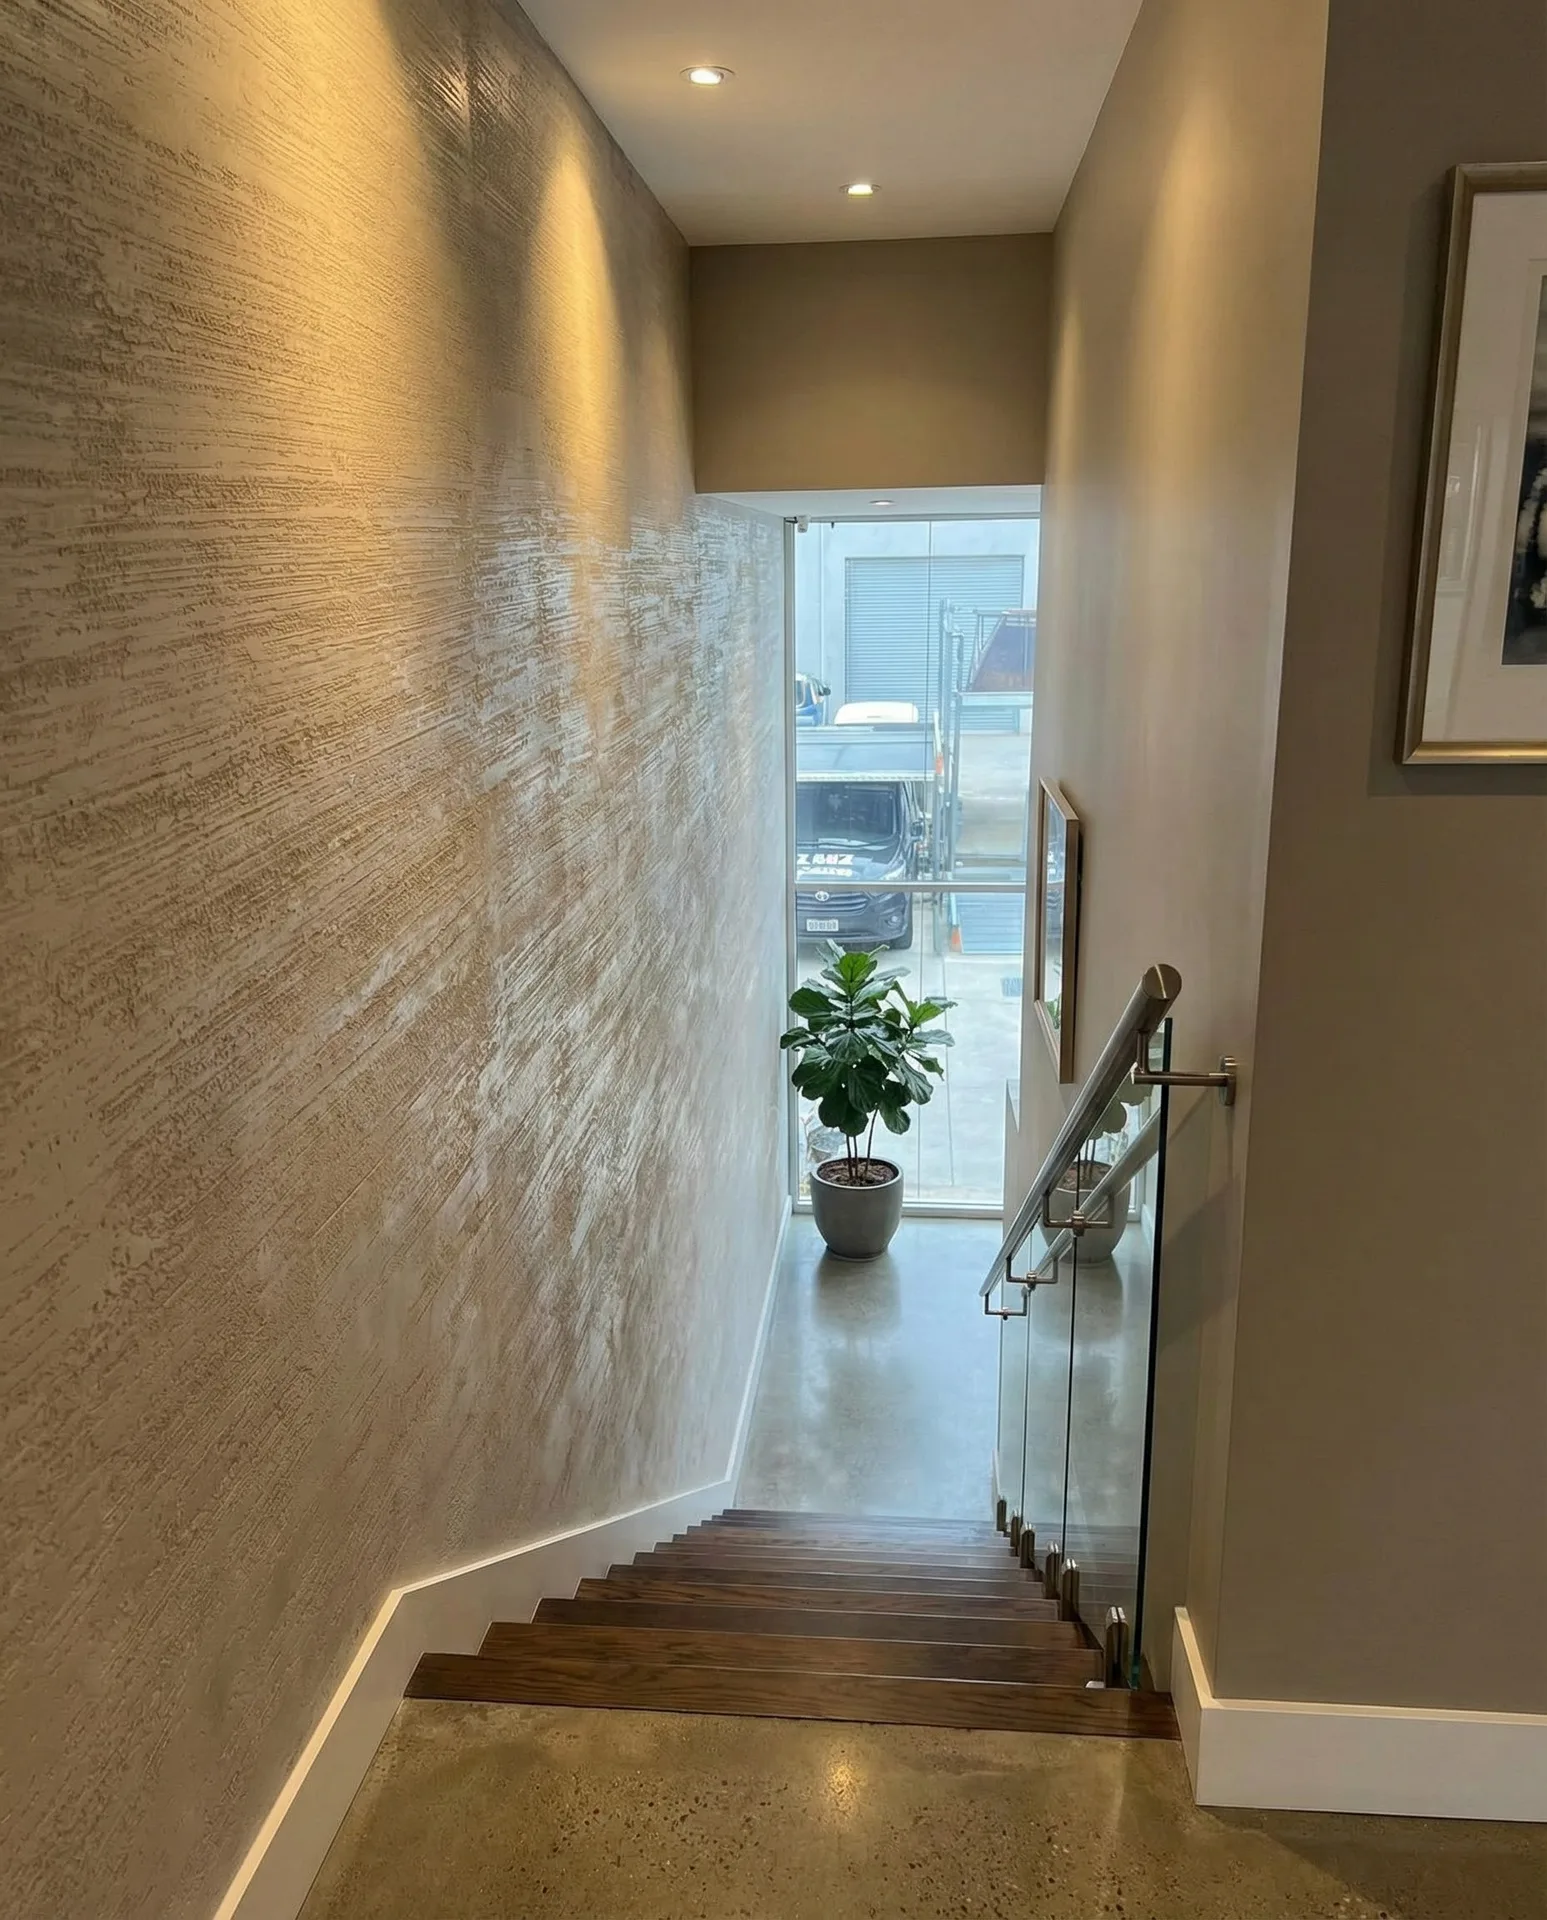
A feature wall is where mineral finishes earn their reputation. Microcement, lime plaster and Venetian-style polished plasters can be specified across a single statement wall — a fireplace surround, a media wall, an entry, a stairwell — to add depth, soften a space and introduce material character. Each system has its own working method and its own visual signature, so we'll guide you to the right product based on the room, the lighting and the look you're chasing.
Application Process
How we
apply it
Feature walls are application-light compared to wet areas, but the surface is what people focus on, so the prep and finishing have to be precise. Most of the value lives in the final two or three coats — the texture work that gives the wall its movement.
Substrate Check
We assess the existing wall — plasterboard, render, brick, ply or existing paint. Cracks are filled, holes are made good, and any movement points are identified. The surface is sanded back where required to remove gloss or peeling layers.
Bonding Primer
A pigmented bonding primer is rolled across the wall to seal the substrate, even out porosity and give the first plaster coat something to grip. Skipping this step is the single biggest cause of feature wall failures we see in other people's work.
Reinforcement (where required)
The substrate, known cracks, joints and movement conditions are assessed before compatible reinforcement and detailing are selected. Mesh does not absorb structural movement or replace required joint detailing.
Base Layer
A structural base coat is applied with a steel trowel and worked flat. For polished plasters this layer establishes the depth that the finish coats will reveal. For textured systems it gives the finish layer a sound foundation to grip.
Finish Layers
Two to four pigmented finish layers are trowelled by hand, each one thinner than the last. The texture, tonal movement and sheen are developed at this stage — by hand, by the same applicator, in one session per wall to keep the finish consistent.
Burnishing or Texturing
Polished plasters are burnished with steel tools to develop sheen and reveal the marble dust within. Textured systems are worked with sponges, floats or specialty tools to create directional or organic patterns. The wall is then waxed, sealed or top-coated depending on the system.
Recent Work
Selected projects
Lime plaster, Venetian and microcement feature walls and fireplaces, completed across the Bellarine and Surf Coast.
By The Numbers
The facts
Build-up confirmed for the selected product and substrate
Of pigment combinations — custom matched to your scheme
Sheen levels achievable on the same product
Care and service life depend on the selected system, substrate and exposure
Installation and cure timing confirmed in the written quote
Current product emissions information available on request
Myths & Truths
Setting the record straight
Common misconceptions we hear, and the reality of working with mineral surface systems.
"It's just textured paint with a fancy name."
Lime and mineral plasters are mineral materials that can include limestone, marble dust and pigments. Their appearance is developed through the selected material and hand application.
"It will crack like old render."
The substrate, joints and movement conditions must be assessed and detailed before application. Reinforcement cannot absorb or correct structural movement.
"You can just do this yourself with a trowel from the hardware store."
The product is the easy part. The trowel angles, the open time, the burnishing pressure, the wet-in-wet blending — those are the variables that separate a feature wall from a patchy wall. Cheap-looking finishes are almost always cheap application, not cheap product.
"It's only for big budgets and minimalist homes."
A feature wall can be considered for a range of residential and commercial interiors. Scope, substrate, finish selection and site conditions determine the project cost.
"It's hard to repair if it gets damaged."
Repair suitability depends on the damage, selected product, colour, finish and availability. We assess the affected area before recommending a repair approach.
"It will fade or yellow on a sunlit wall."
Colour and appearance over time depend on the selected product, pigments, protection, light exposure and maintenance. Confirm current product information for the project.
Request a Consultation
Designing a feature wall?
Bring us a mood image, a fabric swatch or an inspiration board. We'll discuss the system, sample the finish on site, and quote the wall complete from prep through to seal.
Start Your Project